How to Load Custom Firmware on a CFA735 or CFA835
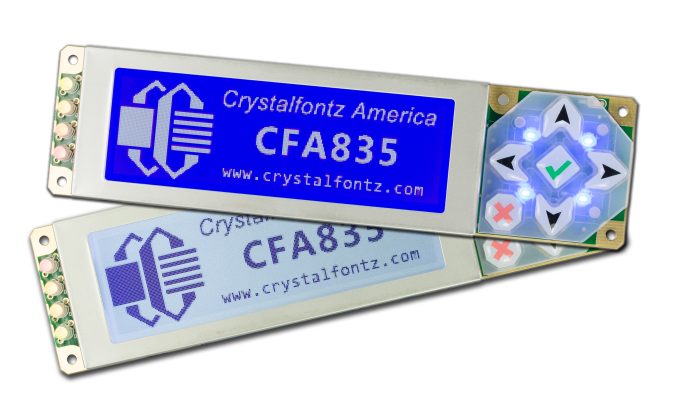
Hack a CFA735 or CFA835 to Run Your Own Firmware
Do you have a project that needs a display, a key pad, and some memory, but the preloaded firmware on the Crystalfontz CFA735 or CFA835 module isn’t quite what you’re looking for? You’re in luck – these modules can be modified to load custom firmware.
The CFA735 and CFA835 are versatile intelligent LCD modules. Both the Crystalfontz CFA735 and CFA835 are based on the CFA10052 hardware module, so during this tutorial the CFA735 and/or CFA835 will be referred to as the CFA10052. The CFA10052 can be reprogrammed to run your own custom firmware.
CFA10052 hardware features:
- STMicroelectronics STM32F401 microcontroller
- ARM 32-bit Cortex™-M4 CPU @ 84 MHz
- 256K Flash, 64K RAM
- 244 x 68 pixel backlit LCD
- Sitronix ST7529 32 grayscale graphic LCD controller
- Buck-boost switching supply allows wide supply voltage range
- Separate switching LED brightness controllers for keypad and LCD backlights
- 6 button backlit keypad
- 4x bi-color (red/green) LEDs
- USB2 interface
- microSD card slot
- Up to 20 general purpose IO pins (GPIO’s)
- Multiple serial/SPI/I2C/CAN interfaces (depending on GPIO use)
- Analog to digital converter
Custom Firmware
This tutorial will show you how to replace the firmware that ships on a CFA10052. For the purposes of the tutorial, we’ll be using some example firmware, but we expect that you’d write and load your own firmware.
The example firmware:
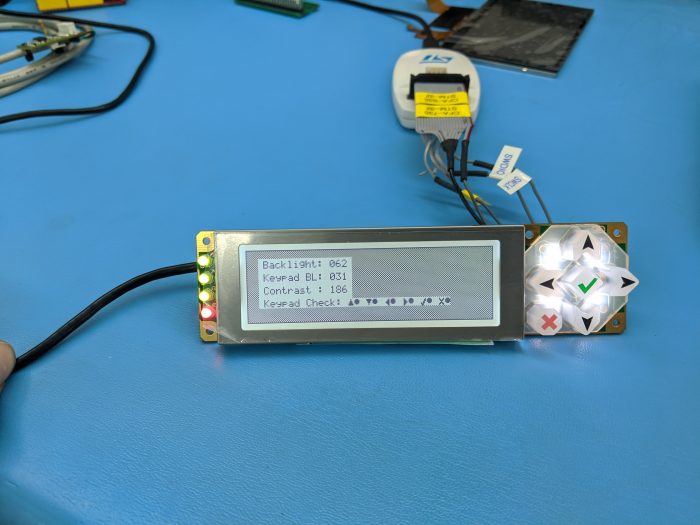
- Displays an alternating grid on the LCD and status information about the display backlight and contrast, and keypad backlight;
- Controls the backlights and contrast using the keypads;
- Sequentially changes the color of the four LEDs from red to green;
- Enables the USART serial port on Header-1 pins 1 and 2 (115200 baud, and echoes any received data; and
- Enables the USB virtual serial port, and echoes any received data back to the host.
Important Note
The Crystalfontz CFA10052 hardware modules ship programmed with a bootloader and CFA735 or CFA835 firmware. The bootloader and CFA735/CFA835 firmware are not open-source, and cannot be copied off of the CFA10052 by the user, nor can they be programmed onto the CFA10052 by the user. Once a CFA735 or CFA835 is programmed with custom firmware, the module will lose all CFA735/CFA835 functionality. If you end up wanting the CFA 735 or CFA835 firmware loaded back onto your module, you’ll have to ship it back to us to reload it.
Supplies
- Crystalfontz CFA10052 (hardware v1.1 or later) Module (CFA735 / CFA835)
- PC (Windows/Linux/OSX) with STM32CubeIDE and STM32 ST-LINK Utility installed
- STMicroelectronics ST-LINK (V2 or V3) programming interface
- CFA10052 programming cable (details below)
- Custom firmware (or use ours here)
- If you are using Windows 7/8/8.1/10 (or equivalent Server versions) and would like to test the USB virtual serial port, you’ll need to download drivers from here. The USB serial port will work without requiring additional drivers on Windows 10+, Linux, OS-X.
STM32CubeIDE and STM32 ST-LINK Utility
We recommend using the STM32CubeIDE to load and use this example firmware project. STM32CubeIDE is a free IDE based on Eclipse that has been modified by STMicroelectronics to include STM32 specific tools. The IDE can be downloaded on the STM32CubeIDE webpage.
To maintain the correct operation of the STM device configuration tool, you must only edit the device configuration tool created source-code between the matching “USER CODE BEGIN xxx” and “USER CODE END xxx” comment blocks.
The STM32 ST-LINK Utility is a software interface for STM32 microcontrollers. We just need it in this tutorial to disable the read-only protection on the Crystalfontz firmware. Again, find out more on the STM ST-LINK Utility webpage.
CFA10052 Programming Cable
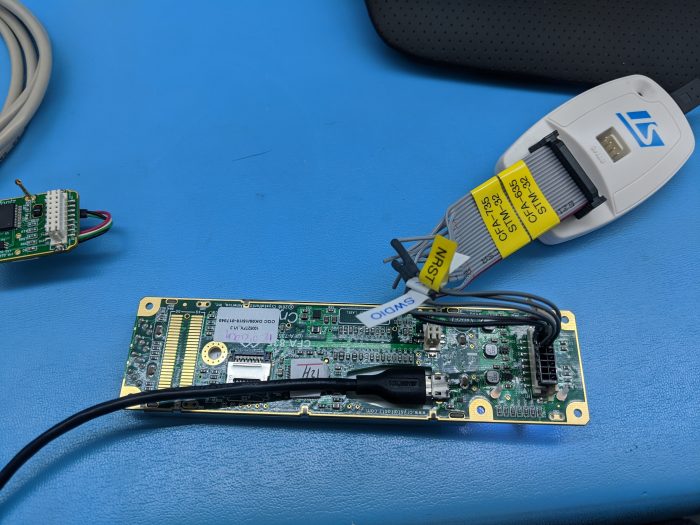
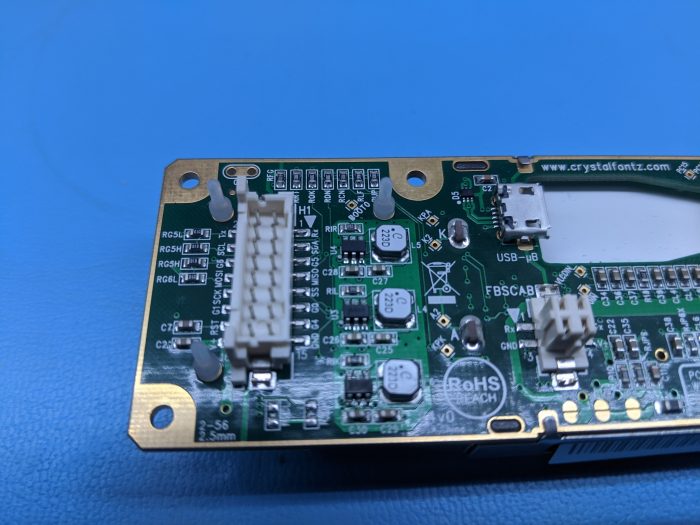
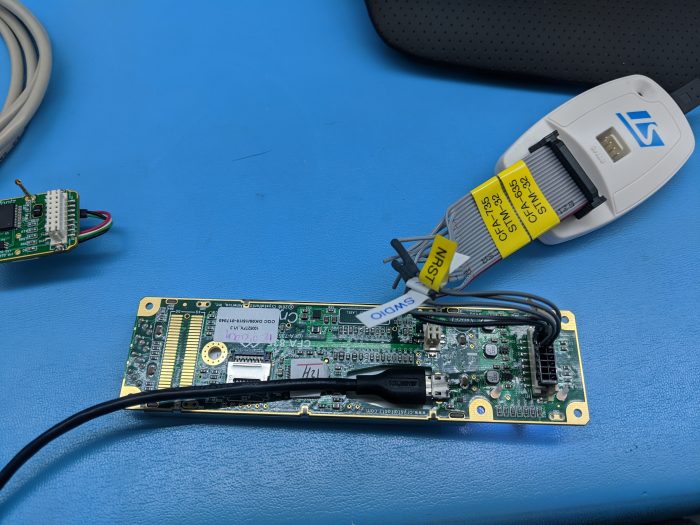
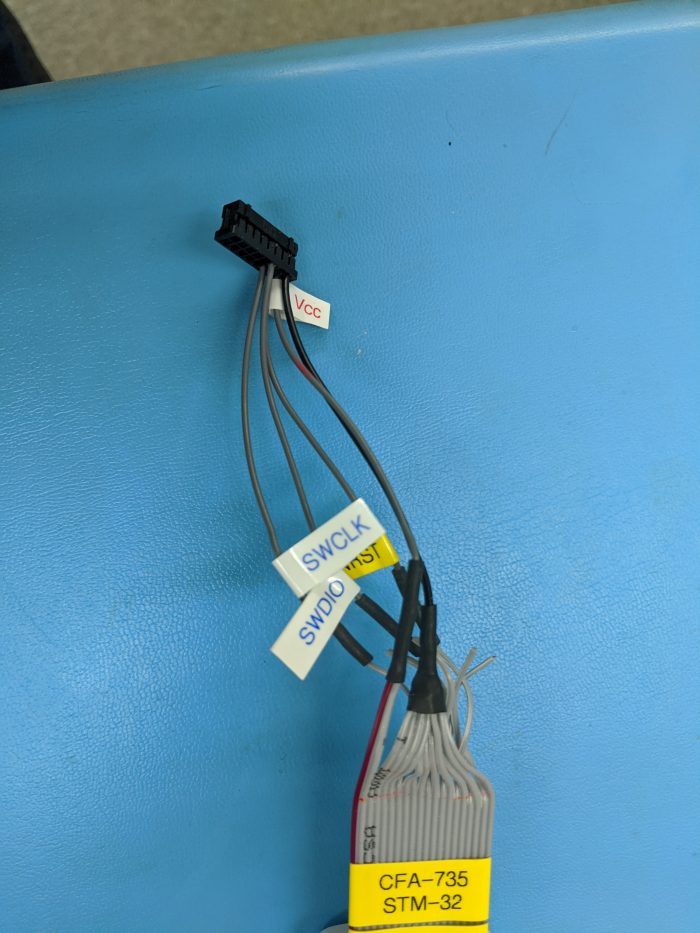
In order to connect your CFA10052 to the ST LINK, you’ll need to make a cable. We did this by splicing our 16-pin SCAB ribbon cable to the cable that came with the ST LINK.
Connections for CFA10052 Programming Cable
| ST-LINK Pin | CFA10052 H1 Pin | Description |
|---|---|---|
| 1 | 16 | +5V |
| 7 | 11 | SWD-IO |
| 9 | 12 | SWD-CLK |
| 15 | 14 | RESET |
| 20 | 15 | GND |
Step 1: Remove the Existing CFA735/CFA835 Firmware
If your CFA10052 module is loaded with the supplied CFA735 or CFA835 firmware, you’ll need to erase it first before installing your custom firmware. The flash memory is read and write protected and this protection and the firmware must be removed.
Method 1:
- Disconnect the USB cable (or power supply) from the CFA10052 module.
- Connect the CFA10052 to the ST-LINK using the programming cable (see above), and the ST-LINK to the host PC.
- Hold the up & down keys on the CFA10052 while plugging the USB cable into the CFA10052 (or power supply).The CFA10052 should now show the Crystalfontz Bootloader screen.
- Run the STM32 ST-LINK Utility. In the “Target” menu, open the “Option Bytes” window. In the “Read Out Protection” box, select “Level 0”. Click Apply. The Crystalfontz firmware has now been removed and any custom firmware may now be programmed.
Method 2:
If you cannot enter the bootloader by holding the keys
- Disconnect the USB cable (or power supply) from the CFA10052 module.
- Connect the BOOT0 test-point (a small pad on the back of the CFA10052 module, near the H1 connector) to 3.3V or 5V.
- Connect the CFA10052 to the ST-LINK using the programming cable (see above), and the ST-LINK to the host PC.
- Power on the CFA10052 (or connect it to USB power). The display should be blank.
- Run the STM32 ST-LINK Utility.In the “Target” menu, open the “Option Bytes” window.In the “Read Out Protection” box, select “Level 0”. Click Apply.The Crystalfontz firmware has now been removed and any custom firmware may now be programmed.
- Connection of the BOOT0 pin to 3.3V/5V is no longer needed.
Step 2: Compile and Load Your Custom Firmware Onto the CFA10052
Now that you’ve removed the supplied firmware, you’re ready to compile and load your own firmware. For the purposes of this tutorial, we have supplied some alternative firmware that gives keypad control of the backlight brightness and display contrast.
To compile the firmware:
- Open the STM32CubeIDE
- In the File menu, choose Import, then “Import Existing Projects Into Workspace”.
- In the root directory box, select the directory of this example firmware.
- Click the Finish button.
- In the Project Explorer, select the cfa10052_example project, then open the Src, and “main.c” file.
- In the Project menu, select “Build Project”.
To program and run the firmware on the CFA10052:
- Disconnect the USB cable (or power supply) from the CFA10052 module.
- Connect the CFA10052 to the ST-LINK using the programming cable (see above), and the ST-LINK to the host PC.
- Connect the USB cable (or power supply) to the CFA10052.
- Make sure the firmware project has been built (see steps above), and “Binaries” appears under “cfa10052_example” in the Project Explorer.
- If “Binaries” isn’t visible, right-click the “cfa10052_example” project and select Refresh.
- Select the Run menu, then “Debug Configurations”.
- In the debug target types selection box on the left, Right-Click “STM32 Cortex-M Application”, and select “New Configuration”.
- A configuration window will be shown. The default settings are OK. Click the Apply then the Close button.
- In the Run menu, select “Debug As”, then “STM32 Cortex Application”. STM32CubeIDE should now connect to the ST-LINK, and upload and run the firmware on the CFA10052.
The above steps are only required on loading the project for the first time in STM32CubeIDE. After firmware source-code changes have been made, only re-building the project (Ctrl-B shortcut) and programming the CFA10052 (F11 key shortcut) are needed.
Firmware can also be loaded via any of the normal STM32 bootloader methods (debugging is only available using the SWD interface and a ST-LINK). For example, if using serial connection, USART1 may be used (RX=H1-Pin1 and TX=H1-Pin2).For more detailed information about the STM32 bootloader and interfaces, see the PDF here.
Support
Crystalfontz supports all of our products, but we cannot support your custom firmware. If you have a question, reach out to us via our contact page.
We love seeing your projects! Tag us on facebook, instagram, linkedIn, or twitter.

Kelsey is an engineer at Crystalfontz. She graduated from Gonzaga University with a BS in Electrical Engineering. Kelsey’s roles at Crystalfontz include product design, custom parts, customer support, documentation, and product demonstrations.
What our customers say about Kelsey:
“As a new user to the world of LCD electronics, Kelsey has been a Godsend in providing the hand-holding I needed to get my project up and running despite my own efforts at fouling things up! :-)” – Owen M
“Kelsey got me through changing code for a new LCD in only two short emails.” – Phillip V
“The agent that I talked with (Kelsey), is technically sound and she knows what she is doing. The support is what made my job easier to get started with the different display technologies. Thank you!” – Vatsal S
